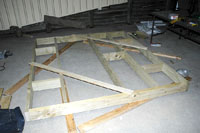


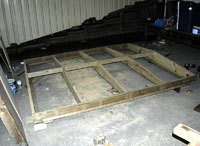
The floor of the obs is 19mm exterior plywood. Two 2400x1200mm sheets were cut to shape to fit around the pier. The floor framing was completed by boxing in around the pier to provide support for the floor sheets. A small pull-out hatch has been left as an access port to a cable run under the floor.
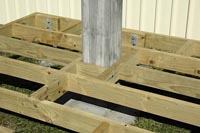


Now the floor and pier is down, the exact wall heights can be worked out. It was initially thought the walls would be approximately 1500mm high, in order for the scope to easily see over them. Once a mock up with the scope was set up, it was obvious higher walls were possible, so a height of 1750mm was chosen.


I fabricated the four walls separately in case I decided to move the observatory with us one day. It still would not be a small job to pull this thing apart!
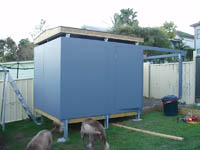
Each wall is constructed of 90x35 CCA treated pine, with approximate 450mm stud spacing. 90x45 timber was used where wall sheeting joins were planned, and also for the door frame. Double 90x45 studs were placed at the rail end to provide an extra solid attachment point for the rail brackets. All timber joints were made with 14g batten screws. Each wall frame has been screwed to the floor joists, and to each other.
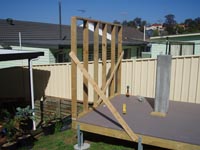
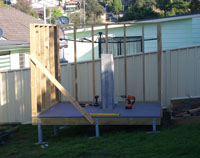
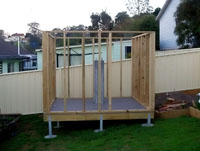
The rails to support the rolling roof were made from 90x90 treated pine, the actual rails are screwed to a cross member on the posts - this will make fine adjustments of the rail spacing simple, especially if any movement occurs with time.
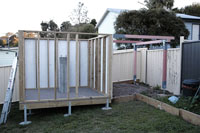
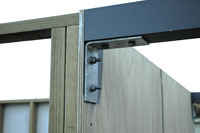
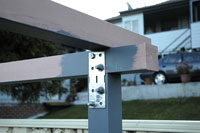
Wall sheeting used is exterior grade 15mm ply, sheets are cut long enough so as to overlap the bottom plate of the wall framing and the flooring for waterproofing. Care should be taken to weatherproof all edges of the ply as it is erected - especially watch for voids in the ends - they can be quite large and allow water inside the sheet. The corners and joins between the sheets are sealed/reinforced with aluminium angle or flat bar.
For the roof, a 5 degree pitch gable design was chosen. Solid trusses were cut from 190x35 treated pine - this was not a cheap option - and not a light option, but a fairly easy to build option, and a sturdy one. The frame was built to allow overlap of its siding and the walls. The frame was sheeted in 9mm exterior ply, and will be covered with corrugated iron sheets.
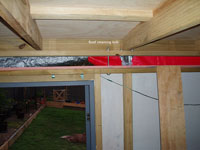
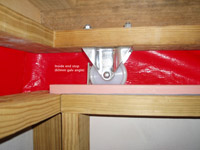
Six castors are used to roll the roof - these are bolted through the roof bottom plate. 31x19 treated pine is used for tracks for the castors.
I have used bolts to hold down the roof when closed - M10x200mm bolts fix through wall top plate and roof bottom plate. Four bolts will normally be used, with scope for another four when decent storms are looming.

The roofing iron - black colorbond corrugate was added to basically finish the structure. A reasonably uneventful process, which ended in the dark under torch light in order to finish before expected rain! The result of this is that the ridge capping is fairly ordinary, and will be swapped over for a custom folded piece, which should fit properly and not ripple.....
Power is connected via a caravan/boat inlet, and supplies lights and power points, a battery powered light is also included for quick trips in where I don't want to hook up a power lead first.
Now we just need to mount the scope!
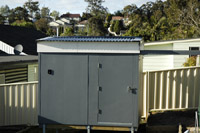
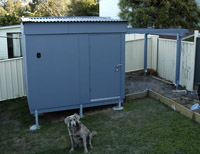
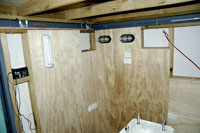
Finished interior pics....


